
FLEXIBLE LED DISPLAY GUIDE
Flexible LED Display Installation: Geometry and Access Guide
Flexible LED display installation starts with verified geometry and a suitable project-specific structure, then coordinates module layout, placement and alignment, cable routes, service access, content mapping, inspection records, and surrounding architectural finishes.
This buyer guide connects curved LED display, flexible LED module, and custom curved LED wall to drawings, responsibilities, supplier questions, and a comparable quotation scope. It uses no universal project price, unverified certification claim, customer result, or unsupported delivery promise.
Decision framework
| Review area | Buyer input | Expected output |
|---|---|---|
| Verified geometry | Confirm curve direction, radii, dimensions, endpoints, openings, transitions, and reference coordinates before fabrication. | A controlled geometry package |
| Project-specific structure | Develop the supporting surface around the approved geometry, mounting method, access, interfaces, and responsible review. | A structure and interface drawing |
| Module layout | Map module positions, boundaries, seams, orientation, and special transition zones across the curved surface. | A numbered module layout |
| Placement and alignment | Define reference lines, installation order, magnetic placement where applicable, adjustment, and visual continuity checks. | A step-based installation checklist |
| Cable and equipment routes | Coordinate connections and equipment without blocking the module layout, structure, ventilation, or service path. | A services drawing |
| Maintenance access | Explain how technicians identify, reach, remove, replace, align, and record work on a curved zone. | A service method linked to module IDs |
Use the framework with the published flexible LED display systems, then replace general assumptions with the measured conditions and responsibilities of the actual project.
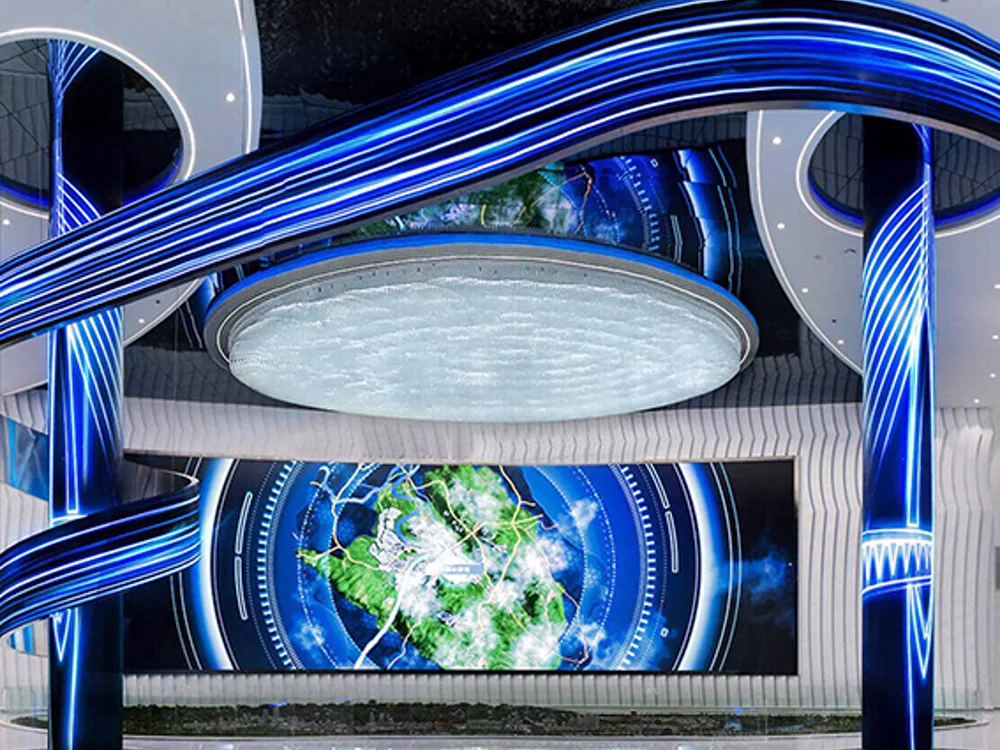
1. Verified geometry
Confirm curve direction, radii, dimensions, endpoints, openings, transitions, and reference coordinates before fabrication. Put this information in the same drawing or schedule used by every bidder so the proposals begin from one project basis.
The main risk is an unstated boundary or assumption. Ask the responsible party to return A controlled geometry package, identify open inputs, and state which later change would require another review.
2. Project-specific structure
Develop the supporting surface around the approved geometry, mounting method, access, interfaces, and responsible review. Treat it as a coordinated project input because decisions in this area can affect installation, operation, service, documentation, or commercial scope.
Do not accept a generic note as the complete response. Request A structure and interface drawing, connect it to the current revision, and assign ownership for unresolved work.
Evidence to attach
- Current measured drawings and revision dates
- Photographs or diagrams that show the relevant site or workflow
- Named owners for buyer, supplier, venue, contractor, or operator decisions
- Open questions that could change the proposed scope
3. Module layout
Map module positions, boundaries, seams, orientation, and special transition zones across the curved surface. Buyers should provide the available evidence early and distinguish measured conditions from concepts that are still being developed.
A useful supplier response includes A numbered module layout, records its assumptions, and explains how the proposed system fits the actual site or workflow.
4. Placement and alignment
Define reference lines, installation order, magnetic placement where applicable, adjustment, and visual continuity checks. Review this point with the people who will install, operate, service, or coordinate the display rather than leaving it to a late purchasing discussion.
The quotation should return A step-based installation checklist, name buyer-supplied work, and separate confirmed scope from information that remains project-dependent.
5. Cable and equipment routes
Coordinate connections and equipment without blocking the module layout, structure, ventilation, or service path. Put this information in the same drawing or schedule used by every bidder so the proposals begin from one project basis.
The main risk is an unstated boundary or assumption. Ask the responsible party to return A services drawing, identify open inputs, and state which later change would require another review.
How to compare responses
Place each bidder’s inclusion, exclusion, assumption, responsibility, and requested input in one comparison sheet. Compare the complete project boundary before comparing totals.
6. Maintenance access
Explain how technicians identify, reach, remove, replace, align, and record work on a curved zone. Treat it as a coordinated project input because decisions in this area can affect installation, operation, service, documentation, or commercial scope.
Do not accept a generic note as the complete response. Request A service method linked to module IDs, connect it to the current revision, and assign ownership for unresolved work.
7. Content and visual test
Map representative content to the final geometry and review continuity from intended viewing directions. Buyers should provide the available evidence early and distinguish measured conditions from concepts that are still being developed.
A useful supplier response includes A geometry-based acceptance test, records its assumptions, and explains how the proposed system fits the actual site or workflow.
8. Handover and change control
Retain approved drawings, configuration references, inspection records, open issues, and responsibility notes. Review this point with the people who will install, operate, service, or coordinate the display rather than leaving it to a late purchasing discussion.
The quotation should return A final project record set, name buyer-supplied work, and separate confirmed scope from information that remains project-dependent.
Buyer checklist before supplier comparison
- Are all radii and curve directions verified?
- Does the structure follow the approved geometry?
- Can every module position be identified?
- Which references control placement and alignment?
- Are cable routes coordinated with access?
- How will a curved zone be serviced?
- Which content is used for visual acceptance?
- What records transfer to the facility team?
Evidence package for the next decision
Before approving flexible LED display installation, collect one review package rather than distributing important information across unrelated emails. The package should identify the current drawing revision, measured conditions, the decision owner for each interface, supplier assumptions, buyer-supplied work, and questions that remain unresolved.
- A controlled geometry package
- A structure and interface drawing
- A numbered module layout
- A step-based installation checklist
Give the package a revision date and keep prior versions in the project record. When geometry, site conditions, access, content, control, installation, or responsibilities change, ask the affected parties to review the same evidence again. This keeps the technical response, commercial scope, and handover documents aligned without presenting an early assumption as a final commitment.
Handover checkpoint
Before the request moves from technical review to quotation, record answers to two topic-specific questions: Are all radii and curve directions verified? Does the structure follow the approved geometry? The record should state who supplied each answer, which drawing or photograph supports it, and whether the information is confirmed or still provisional. It should also identify the owner and due date for every unresolved interface.
Use verified geometry and project-specific structure as named review checkpoints. A supplier response should reference the same inputs and explain any exclusion or assumption that changes the proposed system. This short handover step helps procurement compare like-for-like scope while giving engineering, operations, and installation teams a traceable basis for the next approval.
For related application context, review creative LED display applications. Keep the final decision tied to the documented site, audience, operating workflow, and responsibility matrix.
Manufacturing, project variables, and commercial records
Shenzhen MVPLED Technology Co., Ltd. develops and manufactures LED display systems in Shenzhen, China. Approved manufacturing evidence covers SMT, module production and aging, cabinet assembly, system configuration, inspection, warehousing, and packing.
Use the MVP LED manufacturing process to prepare project-specific questions about drawings, inspection, configuration references, packing identification, and handover records.
MOQ, lead time, production capacity, spare parts, and project configuration vary by product and project requirements. Confirm them in the project quotation. The standard warranty baseline is two years; final coverage is defined by the signed quotation and contract.
Frequently Asked Questions
Can flexible modules be attached to any curved wall?
They require a suitable project-specific supporting structure, verified geometry, compatible mounting, coordinated services, and a practical service method.
Why number the module layout?
Identification helps installation, alignment, configuration records, service tracing, and communication about specific curved zones.
When should content testing occur?
Use representative content after the physical geometry and configuration are stable enough to review visual continuity from the intended viewing directions.
What belongs in the handover package?
Retain approved geometry, module layout, structure and interface drawings, configuration references, inspection records, service method, responsibilities, and signed commercial documents.
Prepare the project record before quotation
The practical answer to flexible LED display installation comes from a complete project record. Send the current drawings, photographs, operating requirements, responsibility matrix, and open questions before asking suppliers to finalize scope.
For a project-specific review, send MVP LED your project brief. Include the approved title topic, measured site or venue information, intended use, access, content and control needs, and requested commercial response.
Article Review and Sources
Author: MVP LED Editorial Team, LED Display Product and Application Content
Reviewed by: TOM, Product Manager
Review date: August 8, 2026
Approved MVP LED sources: flexible LED display systems, MVP LED manufacturing process, and Warranty and Services. Company identity and project-variable records are retained in the editorial source log.